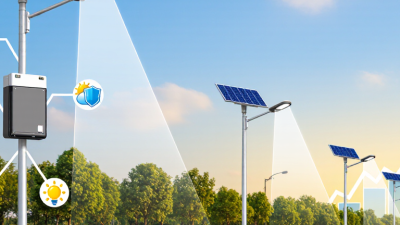
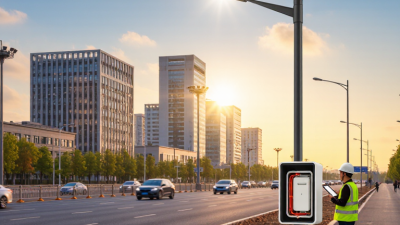
7 Tips for Buying Solar LED Street Lights?

Buying a solar LED street light is not simply a matter of choosing the brightest fixture. A reliable system must match the road, climate, traffic pattern, and maintenance plan. A quiet village lane needs different lighting from a busy parking entrance. Pole height, beam angle, battery capacity, panel quality, and operating hours all affect performance. Small details matter.

Solar lighting engineer Dr. Peter Gevorkian offers a practical principle: “Design the system for the worst solar month, not the brightest day.” That advice deserves attention. A light that performs beautifully in July may struggle during cloudy winter weeks. Buyers should examine measured lumen output, battery chemistry, autonomy days, charging time, and dusk-to-dawn controls. They should also ask for photometric files and independent performance data, rather than trusting bright product photographs.

This guide presents seven practical tips for selecting a solar LED street light with greater confidence. It considers site surveys, shadow exposure, panel orientation, battery protection, lighting distribution, warranty terms, and after-sales support. The recommendations focus on real installation conditions, including dust, rain, low temperatures, and limited maintenance access. No product is perfect. Even a well-designed system can underperform when trees grow across the panel or specifications are misunderstood. That possibility should shape the purchase decision, not be ignored. A careful buyer checks the numbers, visits comparable installations when possible, and leaves room for professional review before placing a large order.
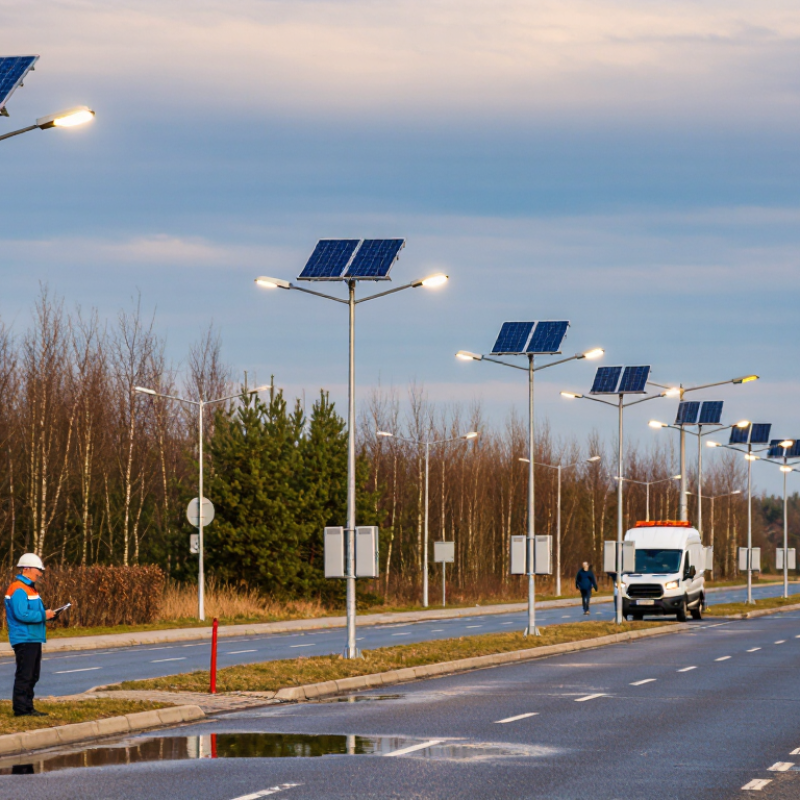
7 Tips for Buying Solar LED Street Lights?

Assess Lighting Needs and Site Conditions

Assess the area before comparing fixtures. Note whether the road serves cars, pedestrians, or both, and identify crossings, entrances, and dark corners. Check the required light level and uniformity against local project specifications. A bright pool beneath each pole can still leave unsafe gaps between them. Record pole height, spacing, mounting angle, and nearby windows where glare could be a concern.

Tip: Walk the site after dusk. Look for shadows cast by trees, walls, parked vehicles, and signs. A simple sketch can help, though it may miss changes in traffic or seasonal foliage. Verify the layout with a lighting calculation or a qualified lighting professional.

Inspect solar exposure across the year, not only on a sunny afternoon. Note rooflines, tall trees, and other obstructions that may shade panels, especially during shorter winter days. Dust, snow, or leaves can also reduce panel output, so consider cleaning access. Match the system’s expected energy production and battery capacity to local sun conditions and the required operating hours. A noon snapshot can mislead; even a careful survey may overlook a new tree or future building nearby.

7 Tips for Buying Solar LED Street Lights: Assess Lighting Needs and Site Conditions

Reference maintained average illuminance values for EN 13201 P-class pedestrian areas. The appropriate class depends on the site and applicable local requirements.

Site check: Consider pedestrian and traffic activity, required uniformity, glare, obstructions, and available sunlight when choosing a light. A photometric design should confirm the right lighting level and solar system capacity for the location.

Compare Solar Panel and Battery Specifications

7 Tips for Buying Solar LED Street Lights

01 · Compare Solar Panels

Compare panel wattage, voltage, and efficiency together. A high-wattage panel may still underperform when dust or shade covers its surface.

02 · Check Placement

Check the panel’s dimensions and mounting angle. A practical test is simple: inspect possible shadows at 9 a.m., noon, and 4 p.m. Small details matter.

03 · Calculate Battery Capacity

Compare battery voltage, amp-hours, and usable watt-hours. Multiply voltage by amp-hours, then allow for discharge limits and conversion losses.

04 · Review Battery Limits

Ask about usable depth of discharge, cycle life, and operating temperature. A battery rated at 100 Ah does not provide 100 Ah safely every night. That assumption can be costly.

05 · Account for Local Conditions

Match battery capacity with local solar conditions. A light operating twelve hours nightly needs more storage during cloudy seasons. Two or three backup nights may be reasonable, but this depends on winter sunlight and lighting power.

06 · Request Realistic Test Data

Request test data from realistic conditions, not only laboratory figures. Panel output, battery charging time, and nighttime runtime should be documented clearly.

07 · Inspect Protection and Connections

Check whether the charge controller protects against overcharging, deep discharge, and overheating. I would also inspect cable size and connector sealing, because small electrical losses become serious over many outdoor units.

Before installation: Specifications can look convincing. Recheck every assumption before installation.

Evaluate LED Output, Coverage, and Light Distribution

LED output is often listed in lumens, but a high number alone does not guarantee a well-lit street.

Check the fixture’s usable output and ask for a photometric layout showing light levels across the actual road width. A narrow lane, a broad intersection, and a path beside trees need different coverage. Look for dark gaps between poles, not just bright spots directly beneath them. Small detail. Pole height and spacing matter, too.

Light distribution describes where the beam travels. Optics designed for roadways can direct light along the pavement, while unsuitable beams may spill into windows or leave the curb dim. Compare uniformity, glare control, and the proposed mounting angle, not just peak brightness. If possible, review a layout using your pole locations and road dimensions. A tidy chart can still mislead if it assumes clear skies, no foliage, or perfect installation. That is an easy mistake to make. Recheck the plan against real site conditions, then inspect a sample area after dark. Notice whether faces, signs, and crossings remain visible without harsh glare.

Check Durability, Controls, and Installation Requirements

7 Tips for Buying Solar LED Street Lights

A solar street light is not simply an LED lamp with a panel attached. The IEA’s Energy Efficiency 2023 report estimates that lighting uses roughly 15% of global electricity. Efficient design matters, but outdoor reliability matters more.

Tip 1: Check the full lighting system, not only LED wattage.

Tip 2: Request photometric data, such as average lux, uniformity, and beam distribution. A brighter lamp may still create dark pavement.

Tip 3: Inspect durability ratings. Look for tested IP protection against dust and water, suitable IK impact resistance, and corrosion protection for coastal areas.

Tip 4: Ask about battery chemistry, usable capacity, operating temperature, and replacement access. The panel needs enough winter exposure.

Tip 5: Confirm autonomy, often expressed as several nights without strong sunlight. Local weather records should guide this figure, not a sales estimate.

Tip 6: Test the controls before purchase. Dimming schedules, motion sensors, dawn-to-dusk operation, and remote alerts can reduce energy waste. However, complicated controls sometimes fail in the field. Keep manual override options.

Tip 7: Review installation requirements carefully. Check pole strength, wind loading, foundation depth, panel shadowing, cable routing, and maintenance access.

IEC 60598-1 provides general safety requirements for luminaires, but site conditions still require engineering judgment. NREL guidance also stresses accurate solar-resource and load assessments. A small pilot installation can reveal poor winter performance, loose hardware, or unrealistic maintenance assumptions before a full rollout.

Review Warranty, Maintenance, and Total Cost of Ownership

7 Tips for Buying Solar LED Street Lights?

A practical purchase starts with the warranty, not the advertised brightness. Check coverage for the panel, LED module, controller, pole, and battery separately. Some warranties exclude fading output, water damage, poor installation, or extreme temperatures. Ask whether replacement parts, shipping, and labor are included. Request written performance thresholds, such as minimum battery capacity after several years. A five-year promise means little without clear conditions. Read the exclusions carefully.

Maintenance affects reliability more than many buyers expect. Dusty panels, blocked vents, loose cables, and nearby tree shade can reduce nighttime performance. Ask how often panels need cleaning in your local environment. Confirm whether the battery can be replaced without changing the entire fixture. Also check service response times and available technical support. Small details matter.

Calculate total cost of ownership over ten years. Include purchase price, transport, installation, inspections, cleaning, battery replacement, and possible downtime. A cheaper unit may require an early battery change after repeated cloudy weeks. Request energy simulations for your actual latitude and winter conditions. Compare expected lighting hours, not only wattage. My early estimates often ignored maintenance labor, which made the cheapest option look better than it was. Leave room for uncertainty, especially when weather data is limited. Ask for test records, but do not accept vague claims as proof.

7 Tips for Buying Solar LED Street Lights? – Review Warranty, Maintenance, and Total Cost of Ownership

No. Buying Tip What to Check Practical Benchmark Questions for the Supplier TCO Impact
1 Match the Light to the Road Review road width, mounting height, pole spacing, required illuminance, uniformity, glare control, and lighting schedule. Ask for a photometric simulation. Typical local-road designs may use approximately 5–15 lux, but the required level depends on the applicable road-lighting standard and site classification. Can you provide an IES or LDT photometric file and a site-specific lighting calculation? Correct optical design reduces over-sizing, battery capacity, energy waste, and replacement costs.
2 Evaluate Solar and Battery Sizing Check panel wattage, battery chemistry, usable capacity, autonomy, local solar resource, temperature range, and seasonal performance. Require a design based on the site’s worst solar season. Lithium iron phosphate batteries commonly offer about 2,000–5,000 cycles, depending on depth of discharge, temperature, and operating conditions. What is the guaranteed autonomy in consecutive low-sun days, and what battery capacity remains usable at the end of the warranty period? Undersizing can cause dark periods and early battery replacement; over-sizing increases initial cost without necessarily improving performance.
3 Inspect LED and Driver Quality Confirm LED efficacy, color temperature, lumen maintenance, thermal management, dimming control, and driver protection. Quality LED systems are often specified for 50,000–100,000 operating hours, but the complete luminaire’s temperature rating, driver life, and lumen-maintenance data are more important than an LED-chip claim alone. Is the rated lifetime based on LM-80/TM-21 data, in-situ temperature, or only an estimated LED-chip life? Better thermal design can extend service life and reduce premature luminaire, driver, and electronic-component replacement.
4 Read the Warranty Carefully Check warranty duration, covered components, battery capacity threshold, labor and shipping terms, exclusions, claim process, and remedies. A 3–5 year warranty is common for many commercial solar street-light systems. A longer term is useful only when the battery, controller, LED module, and labor coverage are clearly defined. Does the warranty cover battery degradation, water ingress, corrosion, controller failure, and replacement labor? A clear, enforceable warranty lowers financial risk and prevents unexpected repair or replacement charges.
5 Plan for Maintenance Access Assess cleaning access, battery replacement method, connector protection, spare parts availability, diagnostics, and required lifting equipment. Schedule visual inspections at least annually, with more frequent checks in dusty, snowy, coastal, or vandalism-prone locations. Panel cleaning frequency should follow actual site conditions. Can technicians replace the battery and controller without replacing the entire luminaire or pole assembly? Modular parts, accessible enclosures, and local service capability reduce labor, vehicle, downtime, and spare-parts costs.
6 Verify Environmental Durability Review IP protection, impact resistance, corrosion protection, wind-load calculations, operating temperature, and salt-mist performance where applicable. IP65 or higher is commonly specified for outdoor enclosures, but the correct rating depends on each component and installation. Select corrosion protection according to local humidity, pollution, and coastal exposure. What test reports support the IP rating, impact rating, corrosion protection, and maximum permitted wind load? Durable construction reduces water damage, corrosion, storm failures, emergency call-outs, and shortened replacement cycles.
7 Calculate Total Cost of Ownership Include purchase, design, foundations, installation, shipping, inspections, cleaning, batteries, spare parts, failures, disposal, and expected service life. Use a 10–15 year comparison period where appropriate and include at least one battery-replacement scenario. Compare delivered cost per operating year, not purchase price alone. What are the estimated annual maintenance costs, battery replacement interval, spare-part prices, and end-of-life disposal requirements? A simple TCO formula is: Initial Cost + Installation + Maintenance + Replacements + Disposal − Residual Value.

Note: Performance benchmarks are indicative industry ranges. Final requirements should be confirmed through a site survey, local lighting regulations, climate data, structural calculations, and a project-specific TCO analysis.

has been added to your cart.
Checkout